A Beginner's Guide to Finishing Oak: Oiling, Waxing and Protecting Indoor Pieces
Oak is forgiving, up to a point. A bare surface will hold onto a mug ring, a splash of wine or a stray felt-tip mark for years. Give it three thin coats of oil and a little wax, though, and the same timber shrugs off most of the daily knocks while still feeling like wood rather than plastic. Finishing oak at home needs no workshop full of kit — a few grades of abrasive paper, a tin of oil, a block of wax and some patience will get you a finish worth showing off.
Know What You Are Finishing First
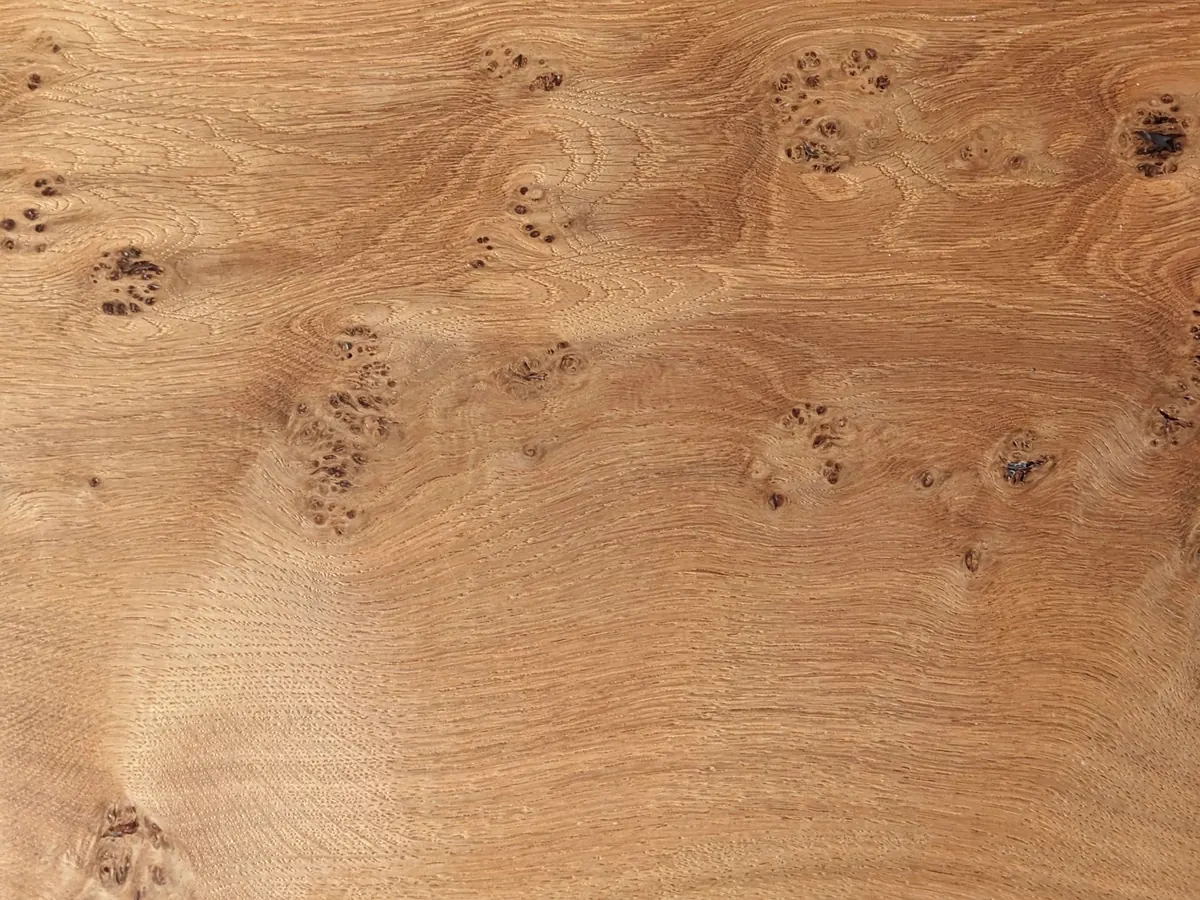
Most oak sold in Britain is European oak, and it is a pleasure to finish: the grain is tight, the pores are small, and oil sinks in evenly. American red oak is more open-pored and can look thirsty under a thin finish, so it often benefits from a grain filler or a wet-sanded oil slurry. Reclaimed beams and old furniture bring their own complications, usually in the form of varnish, wax or grime that must come off before any new finish goes on.
Two warnings worth heeding. Oak contains tannins that react with iron, so steel wool or a rusty tool can leave blue-black stains on freshly sanded wood — use an abrasive pad or a fine sanding block instead. And veneered oak is a thin slice of real wood over a cheaper core, so sand it lightly and never with coarse grit, or you will cut straight through.
Preparation Does Most of the Work
Take your time here. Every scratch you leave behind gets magnified by oil, because oil darkens the wood and makes the surface look deeper. Work through the grits in order, going with the grain, and clear the dust between each one.
- 80 or 120 grit to remove old finish, dents and rough mill marks — only if the surface genuinely needs it.
- 150 grit to flatten the surface and take out scratches left by the coarser paper.
- 180 grit to finish, then stop. Going much beyond 220 burnishes the wood and closes the pores, which makes oil sit on top and dry patchily.
Now wipe the whole piece with a cloth wrung out in clean water and leave it to dry for an hour or two. The grain will lift into a fine fuzz. Sand that fuzz back lightly with your finest grit, then remove every trace of dust with a vacuum brush and a tack cloth. This extra round is what separates a silky finish from a scratchy one. Dents can often be raised before sanding by laying a damp cloth over them and pressing with a warm iron, which is worth trying before you reach for filler.
Oiling: Thin Coats, Plenty of Time
Oil soaks into the timber and cures inside it, so the wood keeps its texture and gains a soft, low sheen. Boiled linseed oil, tung oil, Danish oil and hard-wax oil all work. Hard-wax oils are the most forgiving for a first attempt; pure tung oil takes longer to cure but gives a beautifully clear result.
Apply with a lint-free cloth or a brush, working the oil into the grain rather than painting it on, then keep the surface wet for ten to fifteen minutes. On open-grained oak, wet-sand the first coat with 400 grit paper while the oil is still wet — the slurry of oil and dust fills the pores and saves hours later. Wipe off every drop of excess. Oil left sitting on the surface goes tacky, and tacky is hard to fix.
Leave the piece twelve to twenty-four hours, or whatever the tin advises, then repeat. Two or three coats is usually right. The final coat should be wiped almost dry and left to cure for several days before the piece goes back into normal use.
A safety note worth taking seriously: cloths soaked in oil can heat up on their own and catch fire. Spread them flat outdoors to dry, or soak them in water and seal them in a metal tin. Never leave them crumpled in a bin indoors.
Waxing for Sheen and Everyday Protection
Wax goes on after the oil has cured, never before — trapping uncured oil under wax leaves a surface that stays sticky for weeks. Use a furniture paste wax or a beeswax blend, apply a very thin film with a cloth, and leave it to haze for fifteen or twenty minutes. Buff it off with a clean cloth, turning the cloth often. Two thin coats beat one thick one every time.
Wax adds gentle water resistance and that smooth, faintly satin look people associate with well-kept furniture, but it is not armour. It wears away with handling and cleaning, so expect to reapply it every few months on tables and desks. Avoid silicone-based sprays and polishes; they can make future repairs and refinishing a misery.
Living With Indoor Oak
Once the finish has cured, protection becomes a matter of habit rather than heavy products. A few things make a real difference:
- Use coasters and trivets. Heat and water are the two things oil and wax dislike most.
- Wipe spills promptly with a damp cloth and a little diluted washing-up liquid, then dry the surface.
- Never soak oak. Standing water lifts the grain, and repeated damp encourages movement and splitting.
- Keep rooms at a stable humidity, and avoid pushing furniture hard against radiators.
- Fit felt pads under lamps, bowls and anything that gets dragged across the surface.
- Move pieces out of direct sunlight if fading would bother you — oak changes colour unevenly over the years.
A useful test: drop a little water on the surface. If it beads up, the finish is still doing its job. If it soaks in and darkens the wood within a minute, it is time for another thin coat of oil.
A Simple Yearly Routine
Dust with a dry or slightly damp cloth each week, and use a mild soap solution for sticky marks. Once or twice a year, give the piece a fresh coat of oil, then buff on a thin layer of wax once it has cured. Small scratches usually respond to a little oil rubbed in with a cloth, or a light sanding with 400 grit before re-oiling the whole surface so the sheen stays even.
Antiques, veneered pieces and anything with real value are worth a second opinion before you start sanding, since a restorer will know whether the finish is original and worth preserving. For everything else, oak is a forgiving material. Marks happen, and almost all of them can be sanded or oiled away. Learn on a shelf or a stool rather than the dining table, and you will pick up the feel for it quickly.
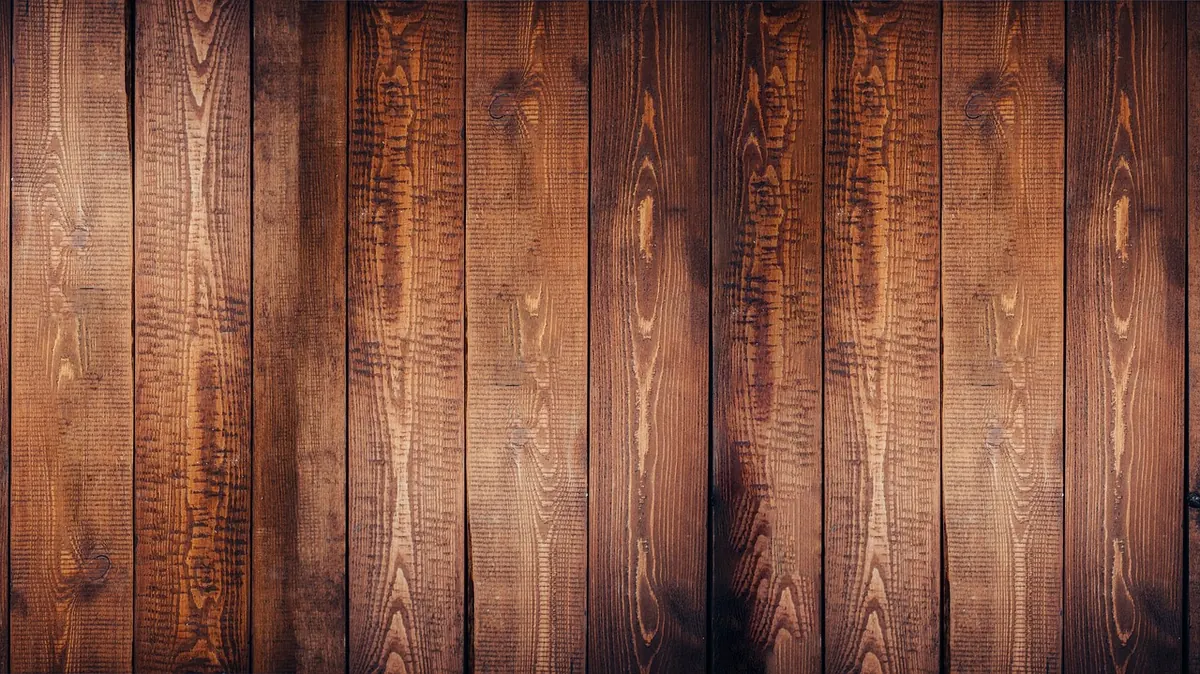
Photo: Chris Steele / Pexels
You Might Also Like
Veteran oaks carry centuries of local history that is rarely written down. Here is how to photograph, measure and record one so your findings last.
A practical guide to starting a village oak club, from finding a founding group and planning walks, talks and seed swaps to running small conservation projects.